Light & technique / Field guide 03
Golden Hour Photography Travel Guide
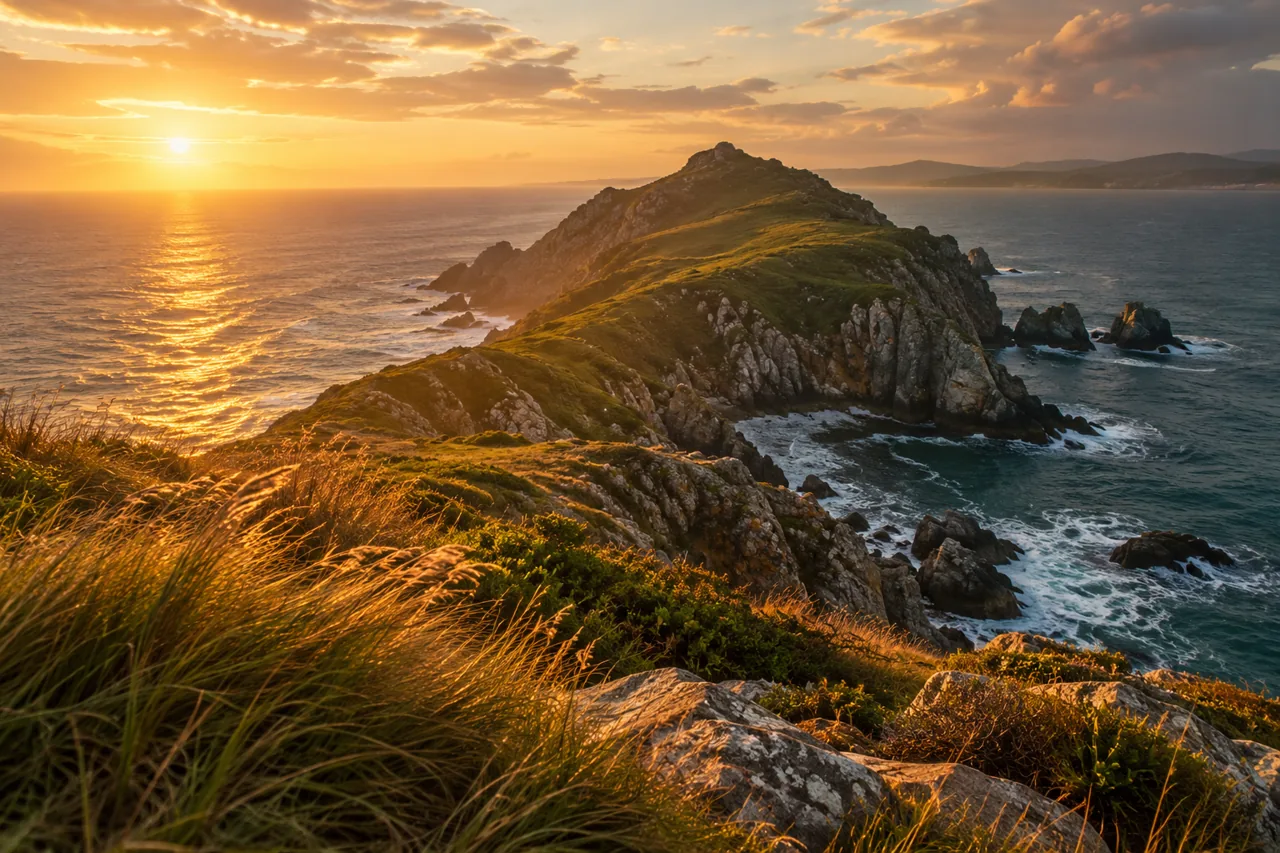
Golden hour travel photography uses the low-angle light near sunrise or sunset to reveal shape, warm color, and long shadows. Plan the location and direction of light before adjusting camera settings. The phrase describes a quality of light, not a guaranteed sixty-minute period or a fixed time everywhere.
The useful window changes with latitude, season, weather, and the local horizon. Mountains and buildings can hide direct sunlight while the sky still looks bright. Treat a sunrise or sunset prediction as a starting point, then work with the conditions you actually find.
Recognize three kinds of light
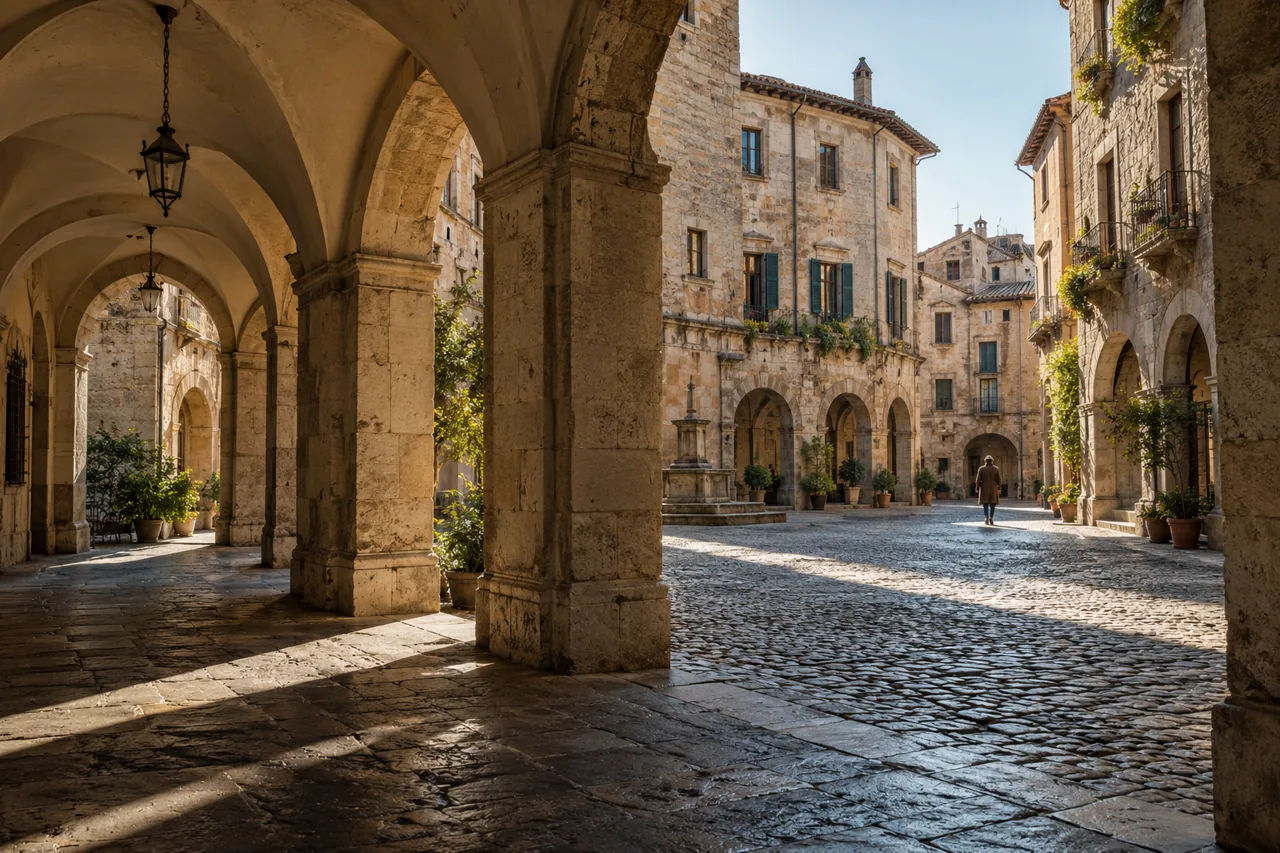
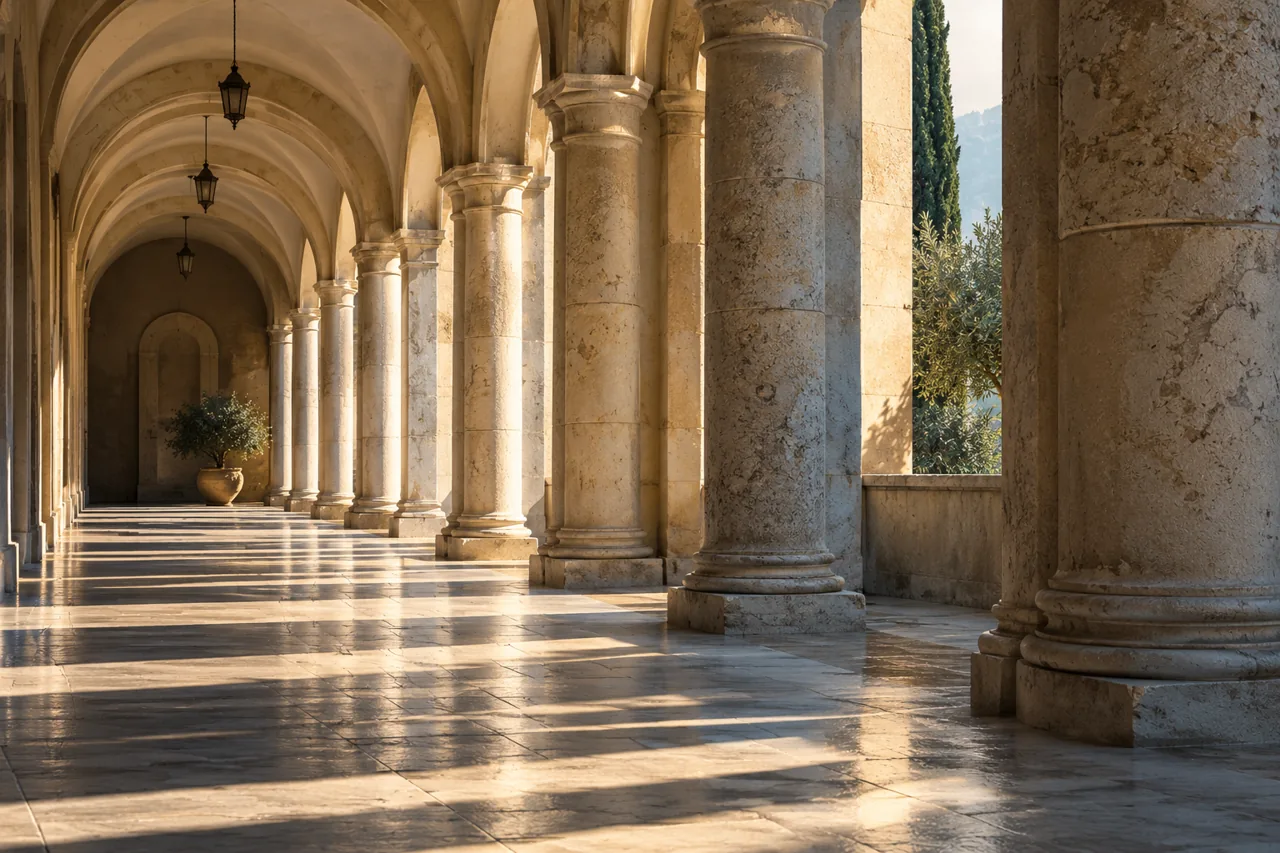
Front light falls onto the subject from behind your shooting position. It can make color and detail easy to read, although the scene may feel flatter. Side light crosses the subject and creates a pattern of illuminated surfaces and shadows. Back light comes from behind the subject and can produce glowing edges, silhouettes, or flare.
Before settling on a composition, turn and look at all three possibilities. A mountain scene may be more readable with side light, while a person in a landscape might work as a small silhouette. There is no need to include the sun itself for the image to communicate the atmosphere of the session.
Scout in ordinary daylight
Find the entrance, legal shooting position, and return route before the light becomes difficult. Check whether gates close and whether the area permits your equipment. Estimate walking time from the actual arrival point rather than from a map pin that may sit in the middle of a restricted location.
Identify a main composition and a simpler alternative. If the wide view disappoints, a patch of glowing grass, a lit window, or a shadow on stone may still work. This is why our trip planning guide recommends a small set of subjects instead of a single must-have image.
Arrive before the light you want
Allow time to get oriented and make test frames. For sunrise, that may mean arriving before direct sunlight reaches the subject; for sunset, it may mean scouting while the scene is still bright. Choose arrival and departure times based on verified access, terrain, and your ability to move safely.
Do not assign a universal arrival time such as thirty minutes before every sunset. A roadside viewpoint and a long walking route need different buffers. Have a stopping point for packing up, particularly when darkness would make the route harder. A headlamp helps you see; it does not make every route safe after dark.
Make the exposure serve the subject
Start with the shutter speed needed for subject movement and your way of holding the camera. Then choose an aperture for the depth you want, allowing ISO to rise when necessary. A moving person may need a faster exposure than still stonework, even though both share the same light.
As an illustrative starting experiment, a still landscape might use f/8 with a low ISO when there is enough light, while a walking portrait might start near 1/250 second and adjust from there. These are examples to test, not prescriptions. Focal length, stabilization, wind, and the person's movement can require very different settings.
Review the bright areas that matter: a face, pale wall, cloud edge, or reflection. A camera preview can look attractive while losing detail in highlights. Use the histogram or highlight warning if available, and make a small exposure adjustment. Do not darken every scene simply because a tiny visible sun is clipped.
Work through a short composition sequence
Begin with an establishing image showing where you are. Next, move closer or use a longer focal length for an arrangement of shapes. Finish with a detail that explains the light: a rim on a leaf, a lit edge of a building, or a texture becoming visible across the ground.
This sequence gives you variety without changing locations. Check whether foreground objects obscure your main subject or introduce a bright distraction. Move a few steps when permitted. The edge of the frame deserves as much attention as the glowing center.
Handle portraits in back light
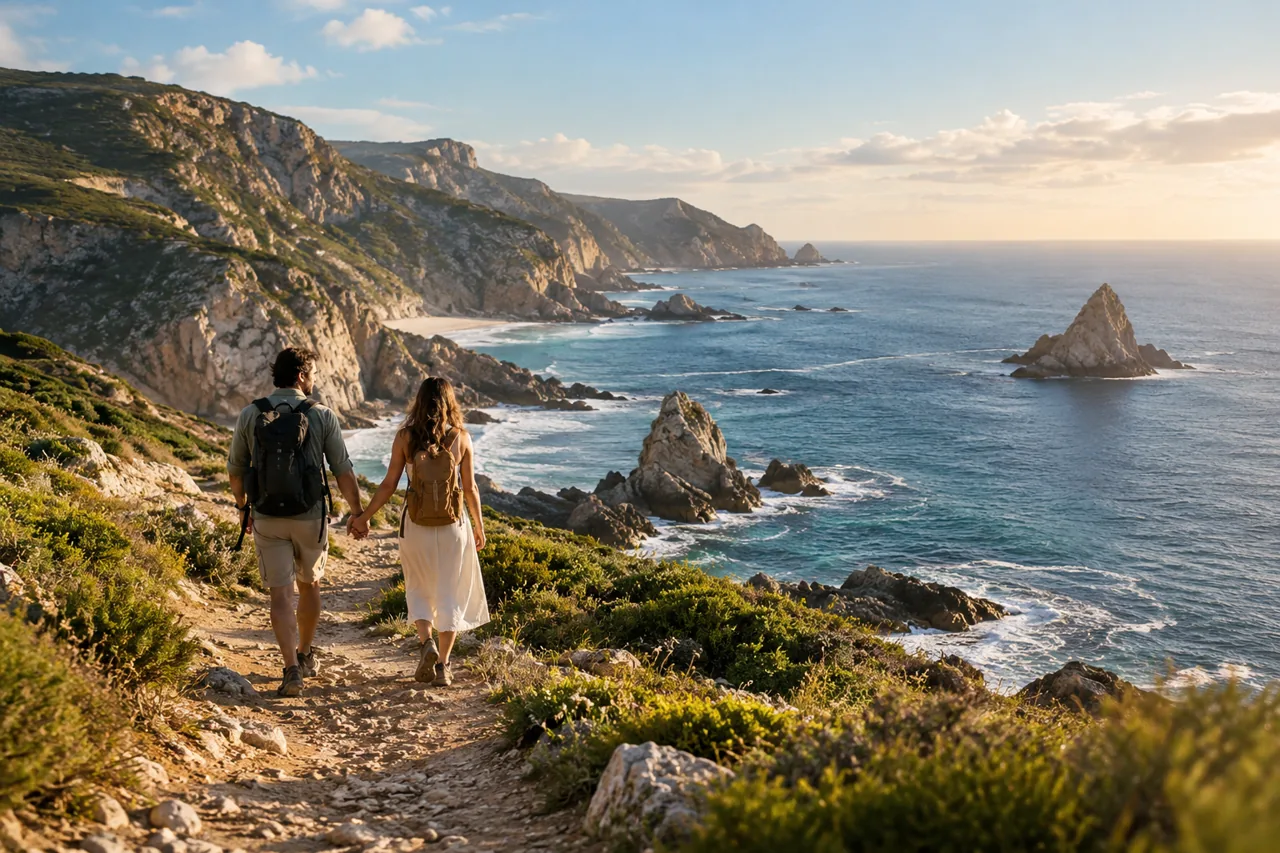
Place the person where the background remains simple and the edge light separates them from it. Ask them to turn slightly rather than making them stare into the sun. Expose for the face if facial detail is the purpose, accepting that a brighter sky may not retain every tone in one frame.
If the contrast is too strong, move into open shade and keep the warm surroundings in the background. A reflector can change the balance, but avoid distracting people or occupying a busy path. For relaxed sessions, see couples travel photography ideas.
Respond to cloud cover
Thin cloud may soften sunlight while preserving direction. Heavy cloud may remove the warm, hard-edged effect altogether. That is a reason to change subjects, not to label the session a failure. Look for calm color relationships, reflective water, or textures that would have been interrupted by strong shadows.
Gaps in clouds can change exposure quickly. Recheck settings after a burst of sun rather than assuming the earlier exposure remains suitable. If the weather becomes unsafe, stop. An attractive sky does not outweigh conditions on a coast, mountain path, or exposed street.
Use a phone with intention
Clean the lens and choose the normal camera before reaching for digital zoom. Tap the important subject, adjust exposure if your app supports it, and review the result at a useful size. Bright screens can disguise underexposure or lost detail, so judge more than the overall glow.
Watch for automatic HDR changing the contrast of silhouettes or producing odd edges around moving subjects. Test another mode if available. Night modes may require the phone and scene to remain still; they are not a reliable replacement for a faster exposure when someone is walking.
Avoid three common mistakes
Do not chase color so intensely that you stop seeing the composition. A warm sky behind an unclear foreground remains an unclear picture. Reduce the scene to one subject and a background, then add other elements only when they help explain it.
Do not keep changing locations while the light is changing. Work the verified viewpoint first. Do not depend on heavy saturation later to recreate light that was absent. Make restrained edits and preserve a believable relationship between the subject and its surroundings.
A light-window checklist
- Verify the date, place, light direction, and access.
- Scout the route and choose a safe departure time.
- Prepare one wide frame, one tighter scene, and one detail.
- Set exposure around subject motion and important highlights.
- Recheck settings as the light changes.
- Pack up before conditions exceed your preparation.
Golden hour questions
How long does golden hour last?
There is no fixed duration. The low-angle light depends on latitude, season, weather, and the horizon. Use destination-specific predictions and observe what reaches your subject.
Is sunrise better than sunset?
Neither is always better. Compare light direction, access, transport, weather, and your energy. Choose the session that fits the subject and the route rather than assuming dawn is automatically quieter.
Do I need a tripod?
Only if the technique and shutter speed require one and the location permits it. For moving portraits, a supported camera does not stop the subject moving.
Can I shoot when the sun disappears?
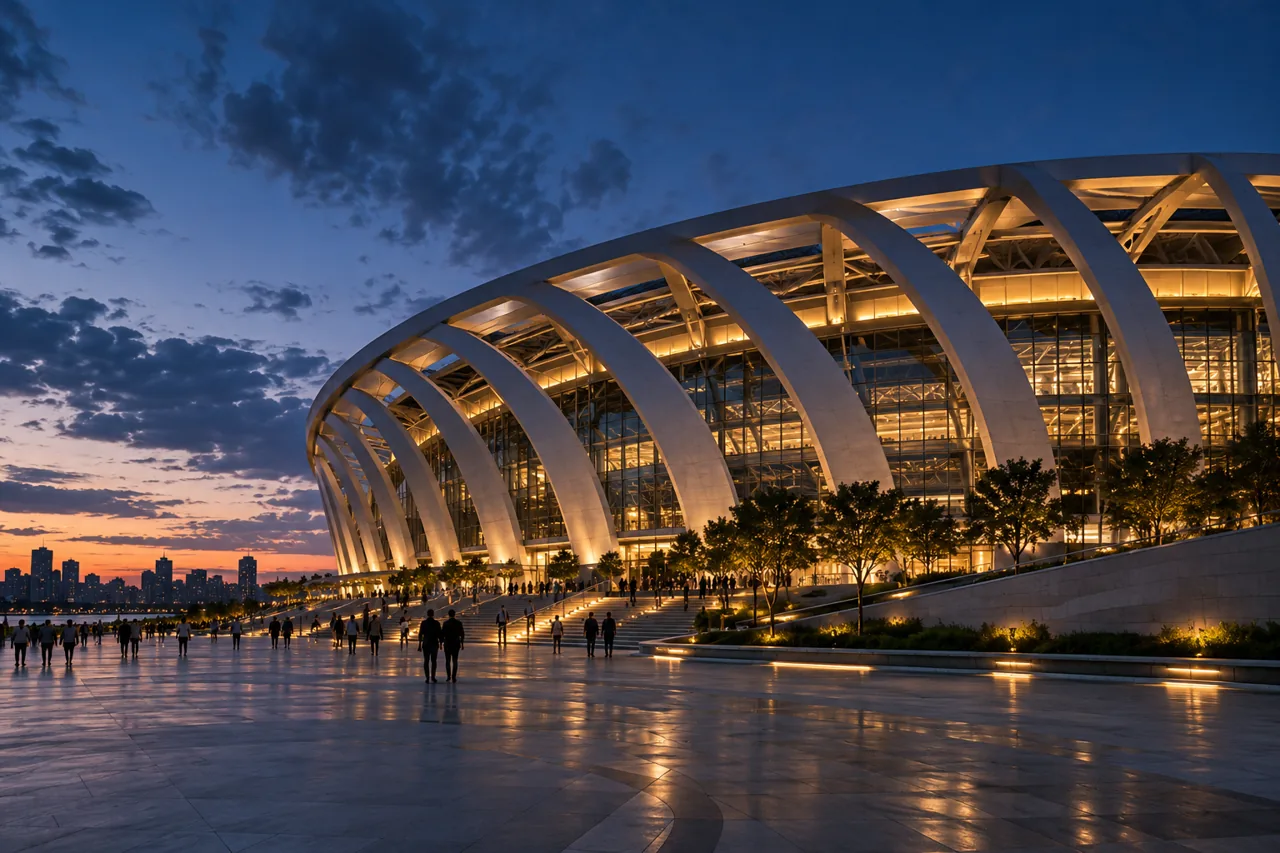
Yes, if access and safety allow. Cooler twilight can suit some subjects, but it usually requires a different exposure strategy and a clear plan for returning.
Further learning
The National Park Service's photography guide introduces composition and low-angle light. This article's session sequence and exposure examples are general creative suggestions, not destination-specific instructions.