Field notes / Field guide 02
How to Plan a Photography Trip
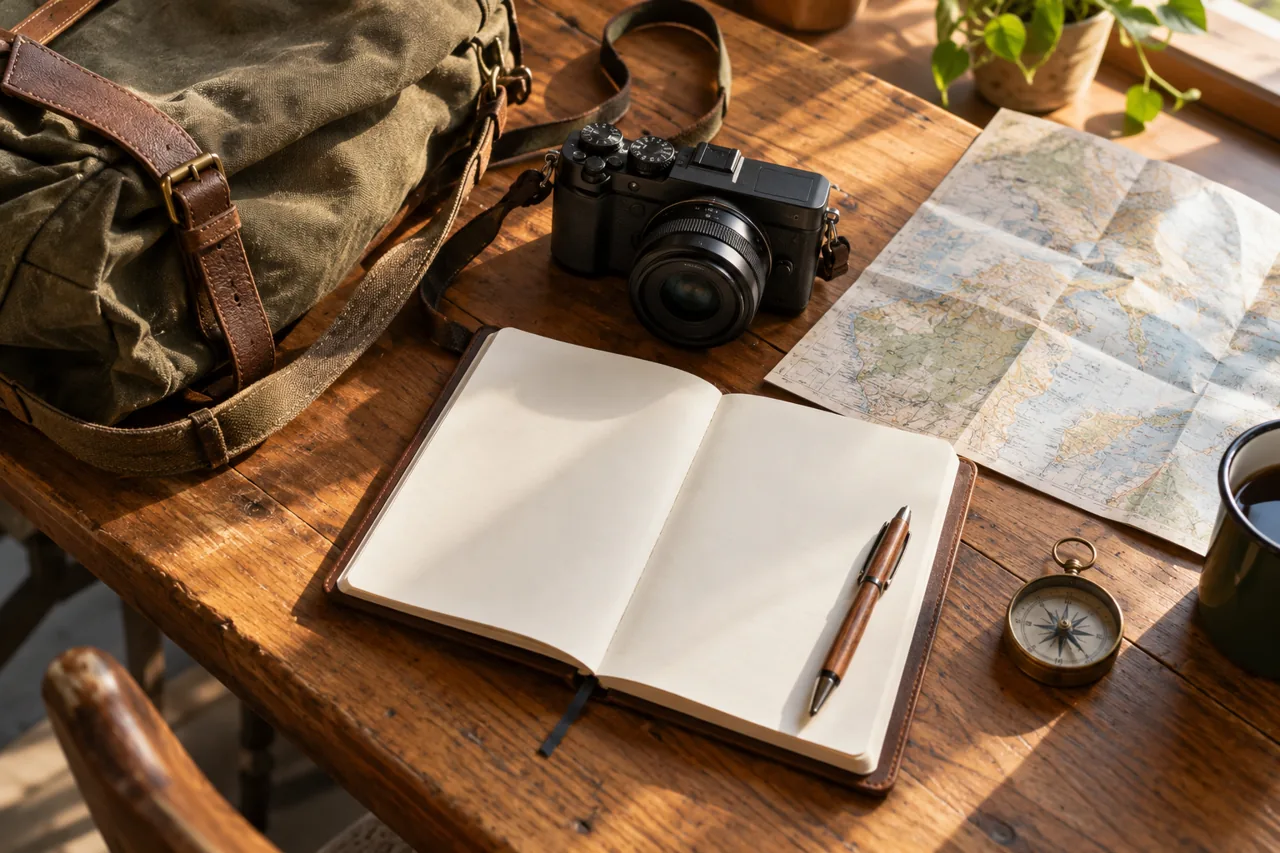
To plan a photography trip, choose a visual theme, verify location access, build a small route around useful light, and prepare an alternative for bad weather. Add realistic travel and rest time before buying equipment or booking an ambitious itinerary. The plan should make observation easier once you arrive.
A photography trip is not simply a sightseeing schedule with more camera stops. Your route needs enough room to wait, explore a different angle, and leave a location without the desired image. This guide offers a method you can adapt to a weekend close to home or a longer journey.
Define a small project
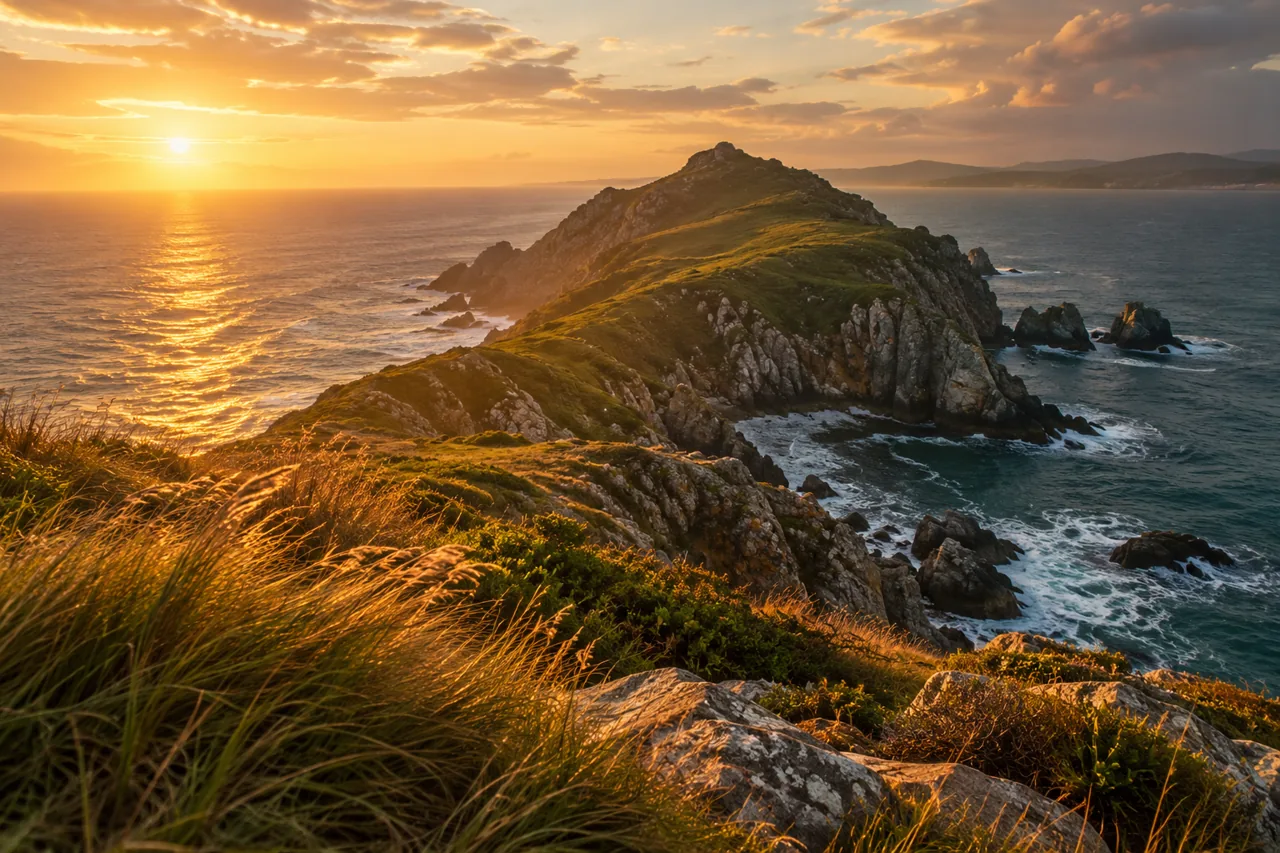
Write a one-sentence brief. For example: “Photograph how a coastal town meets the water through wide views, working details, and quiet streets.” This is a creative exercise, not a factual claim about any particular town. It gives you a reason to select subjects and a standard for deciding what to leave out.
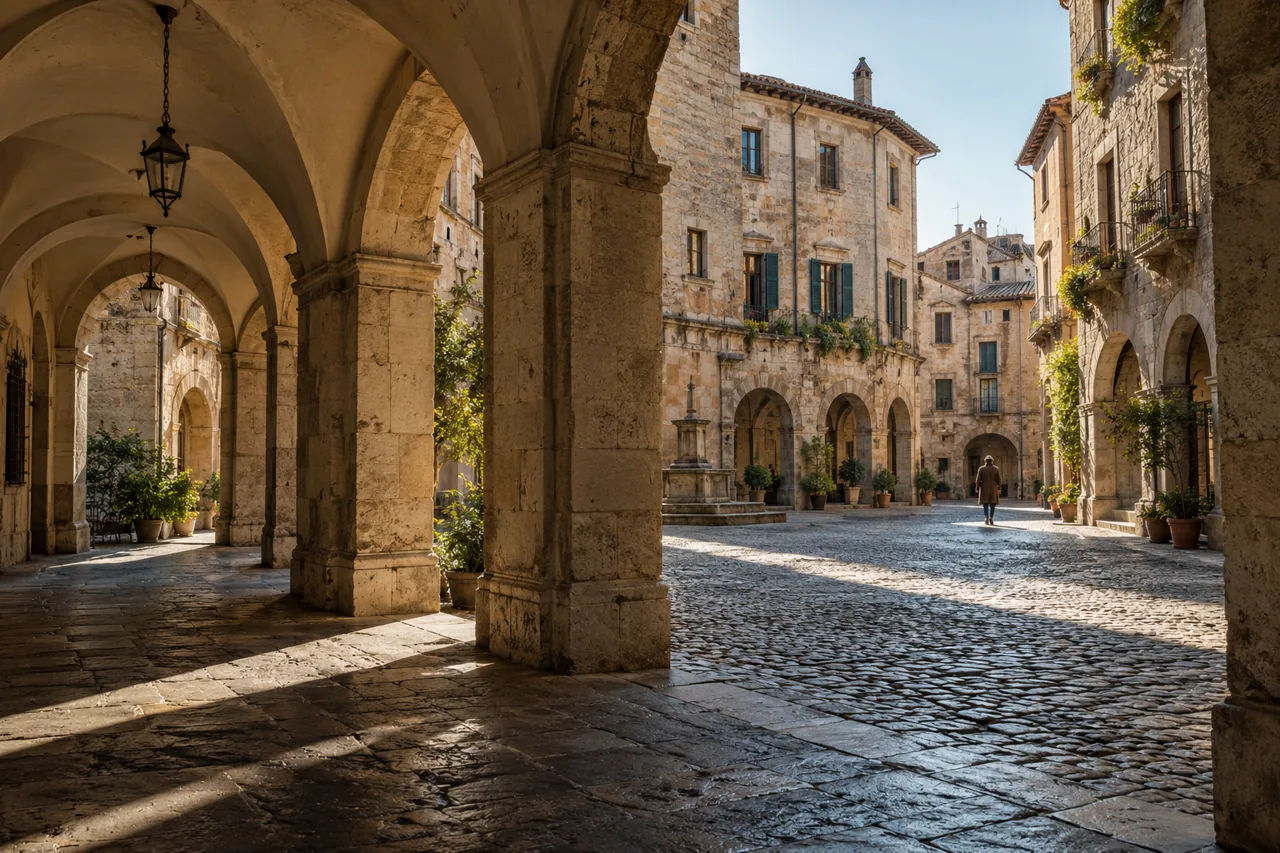
Choose three essential photographs and three optional ones. The essentials might be a harbor overview, a human-scale streetscape, and a detail of weathered materials. Optional subjects should be close enough to fit around the main plan. Avoid building a schedule that depends on every scene looking exactly like a reference photograph.
Research places through separate layers
Start with a map for distances and orientation. Then use the official attraction, park, municipality, or venue website for access information. Photographs and travel articles can suggest subjects, but an appealing image does not prove that a route remains open or that a photographer had general visitor permission.
Create a note for each candidate location: source URL, what you checked, date checked, access uncertainty, and fallback. Separate facts from assumptions. “Website lists visitor hours” is different from “I expect the viewpoint to be quiet.” If photography conditions are unclear, contact the operator rather than making the itinerary depend on a guess.
Build a budget around time on location
List transport, accommodation, food, admission, local travel, and a contingency. Add costs for an early departure or late return if ordinary public transport cannot serve your intended session. A cheaper room far from the main subject may cost more in transfers and lost morning light.
Allocate spare money before buying another lens. A flexible extra night or an easier transfer can improve the trip more than equipment that stays in the bag. Do not rely on this guide for live prices; compare current quotations, cancellation terms, and any booking conditions directly with providers.
Design a route with buffers
Group nearby subjects into a single walking area. Schedule one main session in the morning or evening, then put scouting, meals, and less light-sensitive details around it. Leave slack between locations. Map estimates rarely account for looking for an entrance, stopping to photograph, or finding a safe route with luggage.
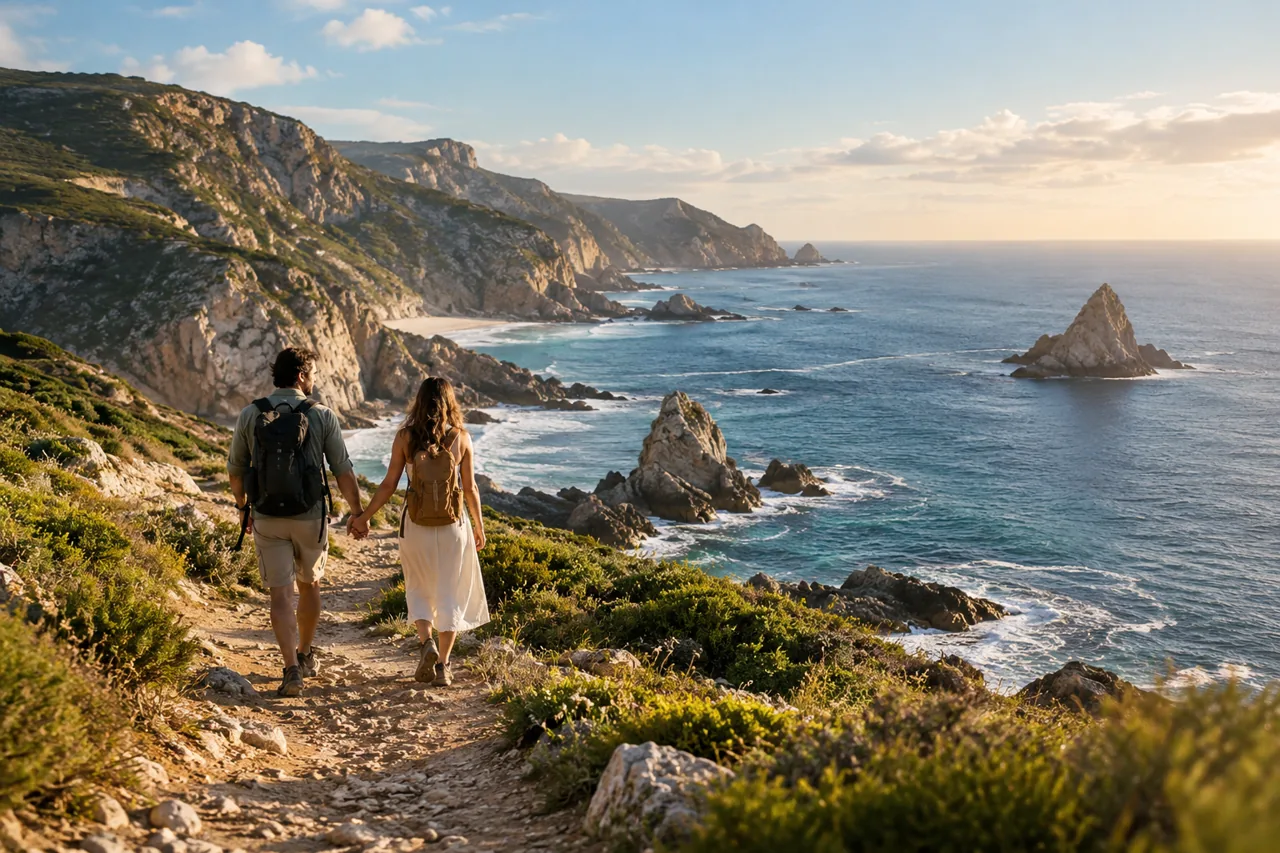
Try this illustrative sequence: scout the harbor during daylight, identify a permitted shooting position, return for a planned light window, and finish with details nearby. It is a planning example, not a recommended timetable for a real destination. A short route gives you room to make decisions instead of rushing through a checklist.
Check light direction as well as sunset time
Find the date-specific sunrise and sunset information for your exact destination. Then study whether terrain or buildings could hide the sun before the listed time. A west-facing outlook may work differently from a lane surrounded by tall walls. The useful light window is local, even when the astronomical time is accurate.
Our golden hour guide explains how to prepare different compositions for front, side, and back light. Bring a plan for overcast conditions too. A cloudy session can produce soft portraits, architectural details, or water studies without direct sunlight.
Pack around the photographs
Take equipment you can carry for the entire route. For a general trip, one familiar camera and a versatile lens may be enough. A phone can be a second camera and a navigation tool. Add a tripod only when permitted and useful for a specific technique; it should not dictate your access or block others.
Pack charged batteries, suitable cards, a lens cloth, weather protection, and a comfortable strap. Keep travel documents and essential medication accessible independently of the camera bag. Check your airline's actual baggage and battery requirements if flying. Test the bag on a local walk before discovering its problems far from home.
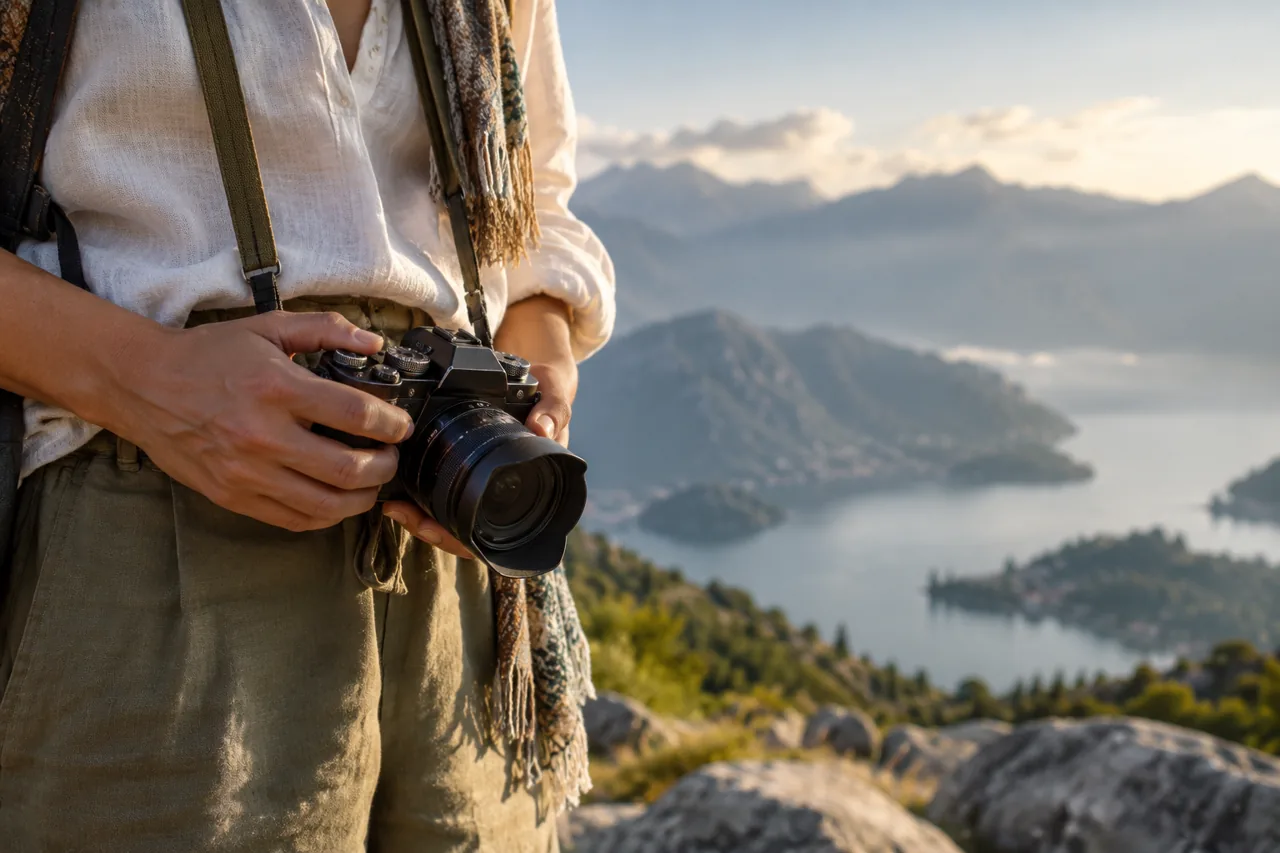
Prepare an equipment workflow
Practice the settings you expect to use. Find exposure compensation, focus modes, the timer, and image review without searching through menus. If you plan to photograph moving people, rehearse with an appropriate shutter speed. If you want still architecture, practice holding the camera level and checking the frame edges.
Decide how you will back up photographs. Where possible, maintain two independent copies before deleting a card. A copy on a drive and files on the camera card is one practical arrangement; two folders on the same drive are not independent protection against drive failure. Keep backups separate during travel when feasible.
Give weather an actual alternative
Write a Plan B that has a different subject, not merely a second exposed viewpoint. Rain might suit a sheltered streetscape photographed from a permitted covered area. Strong wind may rule out a coastal outing altogether. An indoor visit is only an alternative if it is open and photography is allowed.
For Iceland, SafeTravel provides current travel information and alerts. Elsewhere, locate the equivalent official weather and transport sources. Check them again close to departure. A saved screenshot is useful offline, but it cannot tell you about a closure issued after you saved it.
Include companions in the plan
Discuss how much time photography will occupy. Agree on rest breaks and sessions when companions can choose their own activity. A family trip may work better with one short dedicated shoot each day than repeated unplanned stops. Treat consent to participate in portraits as a conversation, not a standing obligation.
Make the camera easy to put away. Some experiences are worth enjoying without documenting them. If your project is about a shared journey, the selection of images should reflect the people who shared it, rather than only the frames you hoped to collect.
Before-departure checklist
- Save official access information and important bookings offline.
- Confirm the route, transport home, and expected daylight.
- Charge batteries and check that memory cards work.
- Test the equipment and pack for the actual terrain.
- Write one weather alternative and one reason to cancel a session.
- Share your route with a trusted person when appropriate.
- Arrange a backup method and keep essential documents separate.
Common planning questions
How many locations should I schedule per day?
Start with one principal location and nearby optional subjects. Increase the number only after accounting for transport, waiting, meals, and your energy. More stops do not automatically mean a stronger set of photographs.
Should I book a photography tour?
It can help when local access or transport is difficult. Compare the itinerary, group size, activity demands, and cancellation terms. Do not assume a tour includes restricted access or professional instruction unless the operator explicitly provides it.
What should I do if the weather ruins the main shot?
Use the verified alternative or stop the session. Photograph a different subject if conditions remain suitable, and record what you learned for another visit. Our destination guide suggests varied subjects that reduce dependence on one view.
Can I plan an entire photography trip with a phone?
Yes. Test your camera controls, storage capacity, power needs, and offline navigation first. A modest kit with a workable route is a practical way to concentrate on observation.