Urban stories / Field guide 04
Photography Tips for Historic Cities
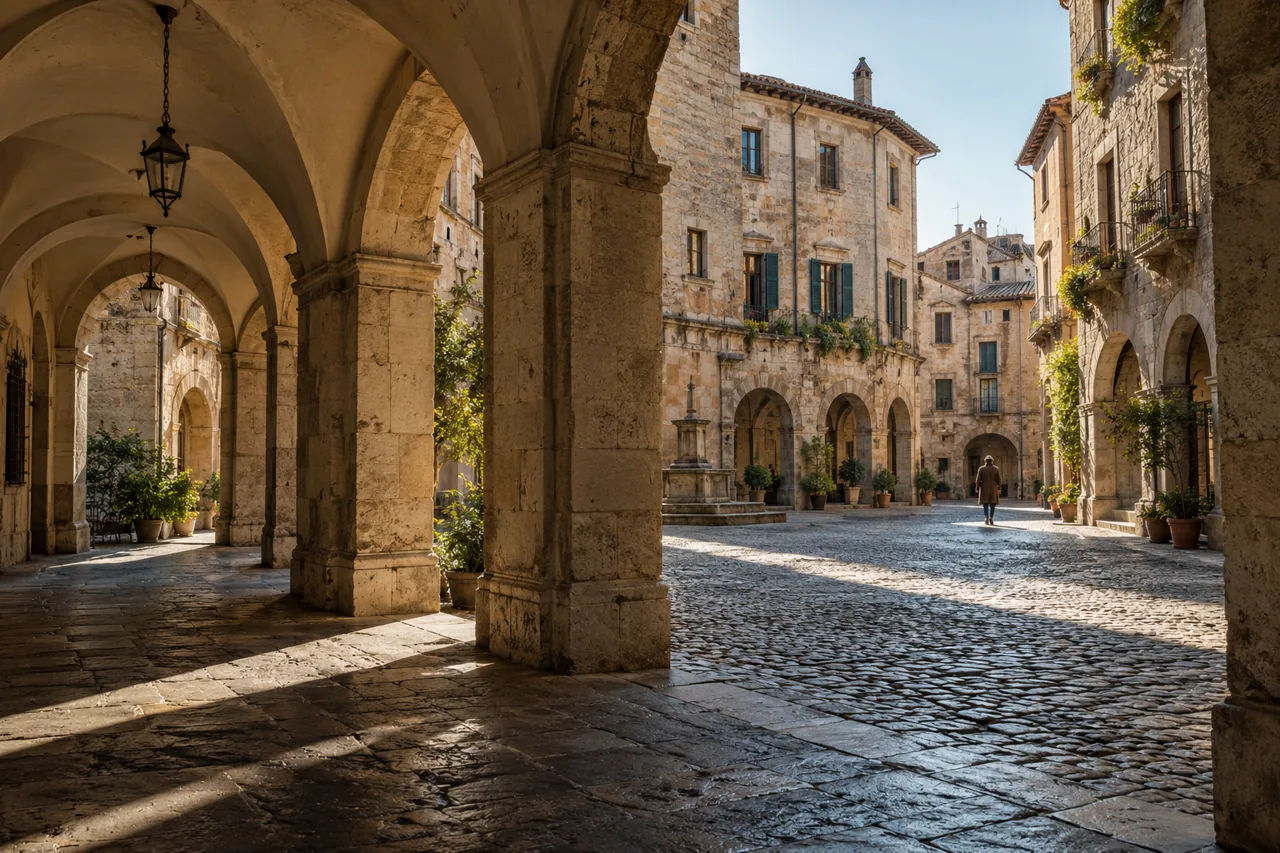
Historic city photography works best when you combine an establishing streetscape with architectural details and observations of daily life. Keep the camera level when straight verticals matter, study the direction of light, and photograph only from places you are permitted to use. A city is a living environment, not an empty set.
Rather than collecting every landmark, choose a small walking area and one visual theme. Doorways, repeated windows, worn surfaces, or the contrast between old and new can hold a series together. This guide explains how to make that approach practical without treating residents as props.
Read the street before raising the camera
Pause at a place that does not obstruct movement. Notice how people use the pavement, where deliveries arrive, and which entrances are private. Identify the subject and the background separately. A striking building can lose clarity when a bright sign or parked vehicle dominates the frame.
Work from the safe position you have. You may find a better photograph looking diagonally across a square than standing in its busy center. A map can suggest a route, but on-site signs and staff determine whether a passage or interior is available to visitors.
Build a sequence around scale
Make one wide image showing the relationship between buildings and the street. Follow it with a medium view of a doorway, window grouping, or corner. Add a close detail of material, craftsmanship, or wear where access permits. The viewer can then connect the small subject to its environment.
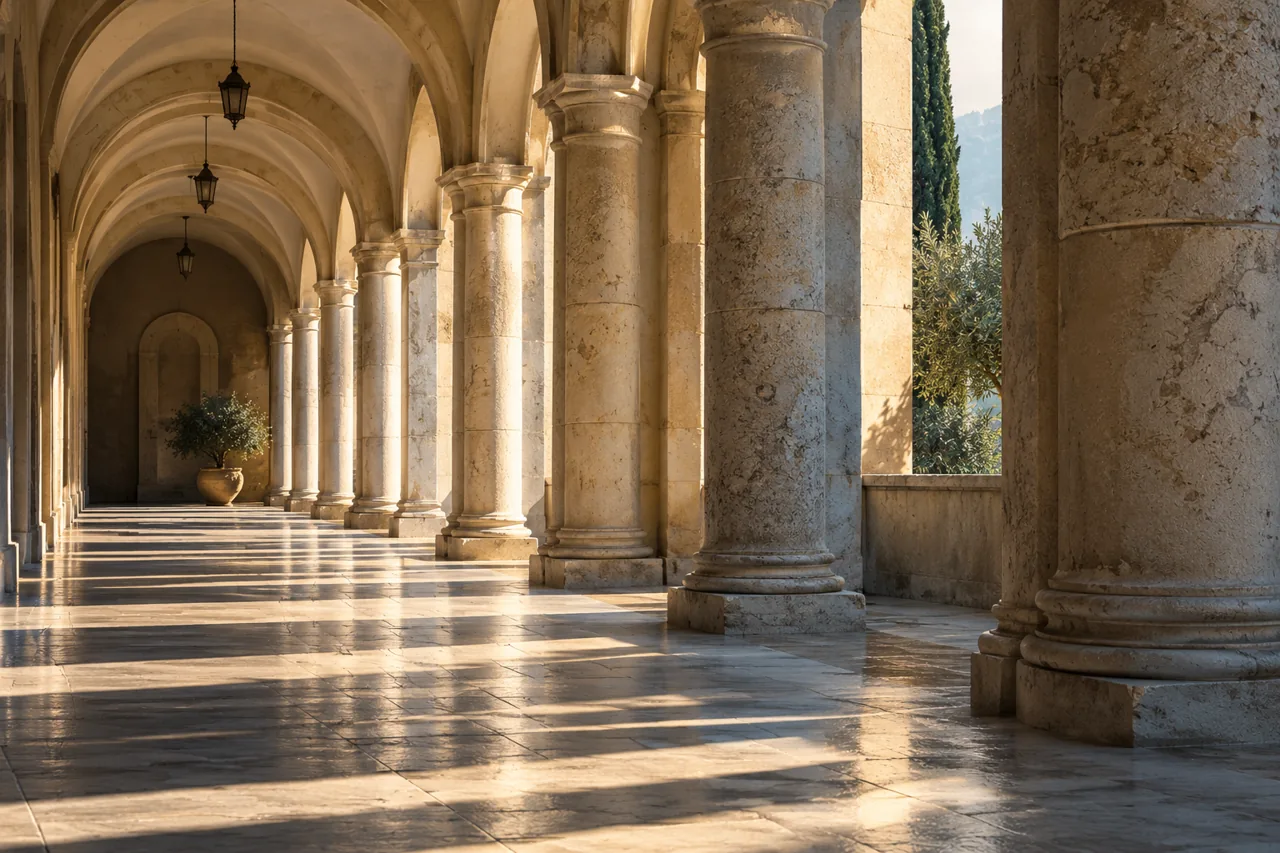
For an illustrative project, photograph a stone arcade as a whole, then a pair of columns, then a weathered edge. You do not need to enter a restricted courtyard to complete the story. Similar structures elsewhere along the public route may provide a permitted alternative.
Control perspective deliberately
Tilting the camera upwards causes vertical lines to appear to converge. Sometimes that emphasizes height; sometimes it makes a façade harder to read. Step back where safe and hold the camera more level when you want an orderly architectural view. Leave room around the building if you intend to correct perspective later.
Perspective correction crops the image and can stretch parts of the scene. It cannot restore details outside the original frame. Decide whether straight lines matter to the story rather than automatically correcting everything. A tightly framed detail may avoid the problem and produce a stronger photograph than a distorted wide view.
Watch the quality of surfaces
Side light can reveal the depth of carving, uneven plaster, or a stone joint. Softer light can show color without harsh patches. Look closely at the surface before deciding when to return. The same wall may support a graphic shadow image in bright weather and a texture study under cloud.
Keep edits consistent within the series. Aggressively increasing clarity on every wall can make gentle surfaces look brittle. Aim to communicate the material you observed. Avoid editing out ordinary people or objects when presenting a photograph as an accurate record without explaining material changes.
Treat crowds as a compositional choice
If you want a quiet architectural frame, wait from a non-obstructive position or use a tighter view. Do not ask a crowd to move so that you can make a travel photograph. A brief gap may be enough for the image you need, and sometimes the presence of visitors explains the location more honestly.
If people belong in the story, work at a respectful distance and seek permission for an intentional identifiable portrait. Be especially careful with children and people in vulnerable situations. Permission to take a photograph is not automatically permission to publish it in every context.
Photograph everyday activity without intrusion
Daily life can give scale and context: a person passing beneath an arch, a table being prepared, or a delivery crossing a square. Avoid turning routine work into a performance for your camera. If someone declines, put the camera away and continue your walk.
Do not photograph through windows into private spaces. A café interior or workshop may welcome visitors but still restrict photography. Ask about both the image and its intended use when relevant. If no shared language is available, a refusal or uncertainty should not be treated as consent.
Verify local restrictions
Rules differ across streets, interiors, museums, religious spaces, and commercial uses. For a Kyoto visit, consult Kyoto Travel's Gion guidance and read local signs. That guidance should not be generalized into a claim about every street in Japan.
A tripod can be prohibited or impractical even where handheld photography is allowed. Flash may disturb people or be forbidden indoors. Check the operator's current instructions before packing around a particular technique. If the restriction prevents your planned frame, choose a different permitted subject.
Make a workable walking route
Choose one cluster of streets rather than crossing the city for unrelated viewpoints. Save a map offline, note rest opportunities, and check the route's slopes and surface conditions. Historic paving and stairs can affect access; a scenic route is not automatically an accessible one.
Photograph the first part of the walk slowly. Review whether your theme is producing enough variety before extending the route. Our photography trip planning method helps reserve time for a second attempt instead of rushing between landmarks.
Adapt to bright midday light
You can work with midday conditions by choosing graphic shapes, covered areas where photography is allowed, or details in even shade. Strong contrast can make a deliberate abstract image. It is less helpful when you want an evenly lit portrait with a readable background.
Turn away from the most obvious view and observe shadows falling on adjacent surfaces. Keep the scene simple and expose for important bright areas. You do not have to wait until sunset to make useful city pictures. Golden hour is another option, not the only one.
Keep a useful field record
Note the location, date, and what you know about the subject. Separate a verified building name from an impression such as “old merchant house.” If you cannot confirm the history, describe visible features rather than assigning a century or an architectural style from appearance alone.
For a personal album, these notes help explain why a detail mattered. For publication, they reduce misidentification. Avoid precise geotags for sensitive private subjects, and do not share directions that encourage readers to enter a restricted area.
A compact city photography checklist
- Pick one visual theme and a manageable walking area.
- Make a wide view, a medium scene, and a detail.
- Check camera tilt and all four frame edges.
- Follow local signs, interior rules, and staff instructions.
- Keep paths clear and seek consent for portraits.
- Record verified names separately from your observations.
Questions about historic city photography
What lens should I use for architecture?
Use a lens that fits your safe position and intended framing. A moderate wide angle can suit streets, while a longer lens isolates details. The widest lens is not automatically the best choice.
Can I photograph a building from a public street?
Rules depend on the jurisdiction, subject, and intended use. Public visibility does not establish unrestricted publication rights. Check authoritative local guidance when the use or location requires it.
How do I avoid tourists in every picture?
Use a tighter composition, wait for a natural gap, or include people deliberately. Do not block paths or insist that other visitors leave. Check access before choosing an early visit.
Should every architectural photograph have straight lines?
No. Converging lines can communicate height. Straighten them when an orderly structural description matters, and leave enough space in the original frame for correction.